Car Wiring Woes: How to Troubleshoot and Solve Common Wiring Problems
If you’ve ever dealt with car wiring problems, you know how frustrating and confusing they can be. Many people struggle with finding the right fix, especially when wires start to melt, corrode, or blow fuses. You’re not alone in facing these common wiring issues.
If you’re facing car wiring issues, start by inspecting visible signs like melted wires, corrosion, or blown fuses. Use a multimeter to check for continuity and voltage, ensuring connections are tight and safe.
Always disconnect the battery before working, and handle tools carefully. For complex problems or repeated failures, it’s best to seek professional help. Keep these tips in mind, and you’ll find out how to troubleshoot and fix common wiring problems effectively.
Key Takeaways
- Identify signs of wiring issues like blown fuses, burnt wires, corrosion, or loose connections to target problems effectively.
- Safely disconnect the battery before inspecting or repairing wiring to prevent electrical shocks or shorts.
- Use a multimeter to test for continuity, voltage, and resistance, helping you pinpoint faulty wires or connections.
- Refer to wiring diagrams to trace circuits accurately and diagnose issues quickly and efficiently.
- Regularly inspect and maintain wiring, connectors, and protective covers to avoid future electrical problems.
How to Recognize Car Wiring Problems Quickly
Recognizing car wiring problems early can save you time and costly repairs. A good first step is to pay attention to color coding. Most wiring harnesses use color-coded wires to show their purpose, like power, ground, or signals.
Early wiring check helps prevent costly car repairs and ensures safety. Pay attention to color-coding for quick troubleshooting.
If you notice any wires with faded or mismatched colors, it might mean damage or improper modifications. Short circuits are common too; they often cause blown fuses or electrical issues. Look for signs like blown fuses, circuit resets, or wires that are melted or burnt.
You can also test with a multimeter to find unexpected continuity problems. If your electrical components stop working or act erratically, wiring issues could be the cause. Detecting these issues early helps prevent further damage and makes repairs easier.
Stay vigilant by regularly inspecting wiring for wear, corrosion, or exposed wires. Quick recognition keeps your car running safely and smoothly.
Essential Safety Tips Before Inspecting Your Car’s Electrical System
Before you start inspecting your car’s electrical system, it’s important to prioritize safety to avoid injuries or damage. Begin by disconnecting the battery to prevent accidental shocks or short circuits.
Proper battery maintenance is crucial because a corroded or leaking battery can be dangerous. Clean the terminals and make sure the connections are secure before you move on.
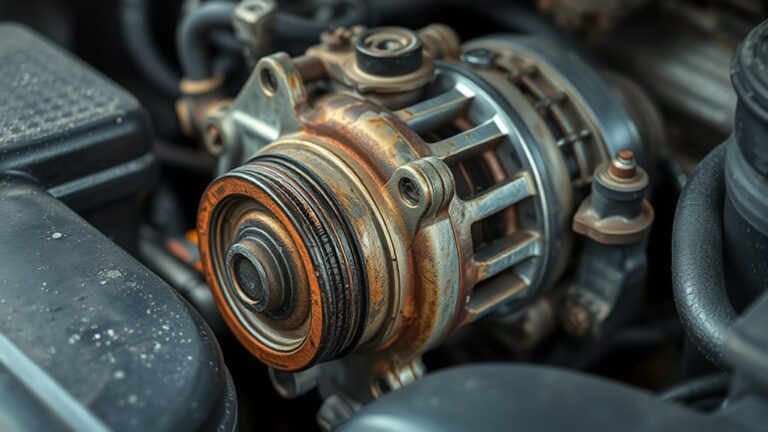
Check for wire corrosion, which can lead to poor connections and electrical issues. If you see corrosion, handle it carefully with gloves and the right cleaning agents.
Always work in a well-ventilated area and keep metal tools away from live circuits to avoid sparks.
Wear safety glasses and gloves to protect yourself from sparks or acid. Double-check that all power sources are disconnected before touching any wiring.
Avoid working directly on live electrical parts to stay safe. Following these safety tips will help make your inspection safe and effective.
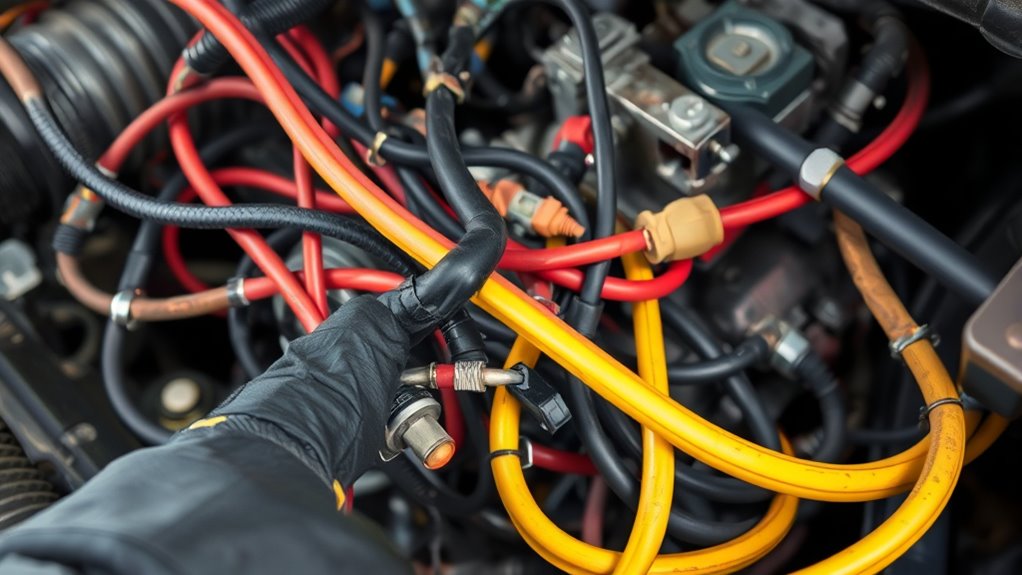
What Tools Do You Need to Troubleshoot Wiring Issues?
To effectively troubleshoot wiring issues in your car, you’ll need a select set of essential tools that allow for precise diagnosis and safe handling.
A multimeter is vital for checking voltage, continuity, and resistance.
Wire strippers and crimpers help with making clean, secure wire splicing connections.
A test light allows quick identification of live circuits.
Having a set of various screwdrivers and pliers ensures you can access and manipulate different components easily.
Color coding tools, like markers or tape, help you track wires during diagnosis and repairs, minimizing errors.
Proper tools streamline troubleshooting, making it easier to identify shorts, broken wires, or faulty connections.
How to Safely Inspect Your Car’s Wiring and Electrical Components
Once you’ve gathered your tools, safely inspecting your car’s wiring and electrical components is the first step for troubleshooting. Start by turning off the engine and disconnecting the battery to avoid shocks or short circuits.
Check for visible issues like battery corrosion around terminals. Corrosion appears as white or greenish buildup, and you should clean it carefully with a wire brush. Then, examine the fuse box for blown fuses, which can cause electrical failures.
Replace any damaged fuses with ones of the same amperage to restore proper function. Also, inspect the wiring for signs of damage, such as fraying, burns, or loose connections.
Use a multimeter to test circuits for continuity and voltage, making sure everything’s grounded properly. If you notice any suspicious wiring or corrosion, address it immediately before moving on to deeper diagnostics.
Being thorough and cautious ensures safety and lays a solid foundation for accurately diagnosing issues.
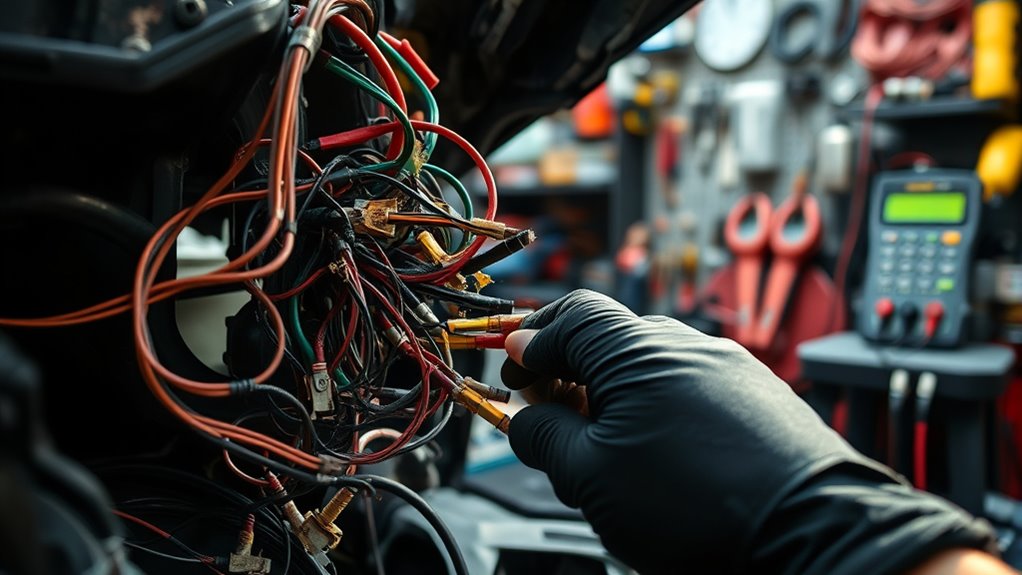
How to Find Faults in Your Car’s Wiring Connections
Finding faults in your car’s wiring involves a step-by-step approach. Start by visually inspecting all wiring for obvious problems like frayed insulation, disconnected cables, or corrosion, especially around the battery terminals.
Next, check the battery management system. Make sure the connections are tight and the terminals are clean to avoid voltage issues. Look for corrosion around the terminals—this can cause poor connections or shorts. Using corrosion prevention spray can help keep things in good shape.
Also, double-check that connectors are properly seated and free of debris. It’s important to look at grounding points too, because loose or rusty grounds can lead to electrical faults.
Maintaining clean terminals and preventing corrosion are key for reliable wiring. This method helps you quickly find issues and keep your wiring safe, intact, and working smoothly.
Testing Wiring Continuity and Electrical Components Step-by-Step
When you’re testing wiring continuity and electrical components, it’s important to use your multimeter properly so you get accurate readings. Take a moment to understand how to set your multimeter and what the readings mean. Doing this step carefully can help catch common wiring mistakes early on, saving you time and headaches down the line.
Using a Multimeter Effectively
A multimeter is a must-have for diagnosing wiring problems, and knowing how to use it properly saves you time and helps avoid mistakes. Before you start testing, make sure your multimeter is calibrated because an uncalibrated one can give you wrong readings.
First, check the battery voltage to ensure the multimeter’s power source is reliable. Then, set your multimeter to measure either continuity or voltage depending on what you need to test.
Next, test your multimeter on a known working circuit to confirm it’s reading correctly. Once confirmed, use it to check wiring connections or components for proper continuity.
Finally, carefully interpret your readings, paying attention to expected voltage levels and whether the continuity is correct. Mastering these steps allows you to pinpoint and fix wiring issues quickly and accurately.
Diagnosing Common Wiring Errors
To diagnose common wiring errors, start by thoroughly testing wiring continuity with your multimeter. Check the wire color labels and trace them from source to destination, making sure there are no breaks.
Look for connector corrosion, which can block electrical flow. Verify that connectors are clean and properly seated. Use your multimeter to measure resistance; a reading near zero indicates good continuity.
If resistance is high or infinite, replace or repair the wire. Be systematic—test each segment carefully. Here’s a quick reference:
| Wire Section | Test Result | Recommended Action |
|---|---|---|
| Red wire | Continuity present | Good wiring |
| Blue wire | Infinite resistance | Check for breaks |
| Connectors | Corrosion visible | Clean or replace |
| Ground wires | No continuity | Repair or replace |
| Power wire | Proper voltage | Confirm connection intact |
This method helps you identify faults quickly and accurately.
Easy DIY Fixes for Common Wiring Problems
Many common wiring issues can be fixed easily with a few simple tools and some basic know-how. Start by inspecting wire color and wire gauge to make sure they match the original specs; mismatched wires can cause shorts or power loss.
If you notice a loose connection, tighten the terminals or solder the wires securely. For broken wires, cut out the damaged section and splice in new wire of the same gauge, making sure the colors are correct for easy identification.
Finally, check for corrosion on connectors and clean them with electrical contact cleaner. These simple steps can help you fix common wiring problems without calling in a pro, saving you time and money.
Here are four key steps to troubleshoot wiring issues:
- Verify wire color consistency to avoid confusion and mistakes.
- Match wire gauge to prevent overheating or insufficient power flow.
- Tighten or re-solder loose connections for a solid electrical link.
- Clean or replace corroded connectors to restore conductivity.
When to Call a Professional for Complex Wiring Repairs
Complex wiring problems often need special tools and expertise beyond simple DIY fixes. If you’re dealing with detailed auto wiring or stubborn circuit issues, it’s time to call in a professional.
Signs you should seek help include consistent blown fuses, wiring that’s hard to access, or damage that’s hard to see. If you’re unsure how to safely handle vehicle electrical systems, it’s best to get help.
Trying advanced repairs without the right knowledge can cause more damage or be unsafe. A trained auto electrician has the tools and experience to diagnose and fix wiring problems accurately.
They can spot hidden issues that you might miss, saving you time and avoiding costly repairs later. When electrical problems feel overwhelming or involve complex circuits, trust a pro to keep your vehicle’s wiring safe, reliable, and properly fixed.
Top Tips to Prevent Wiring Issues in Your Car
To keep your car wiring in good shape, it’s a good idea to set up a regular inspection routine. That way, you can catch any problems early before they turn into bigger issues. Just taking a few minutes to check the wiring now and then can save you a lot of hassle down the road.
Also, make sure you’re using the right type of wiring materials. Using the proper wires and connectors is super important to prevent future troubles. And when you’re installing or fixing wiring, always follow safe practices — it’s worth the effort to do things correctly from the start.
These simple steps can really make a difference. They help you avoid those pesky wiring problems before they even happen, saving you both time and money in the long run.
Regular Inspection Routine
How often do you check your car’s wiring? Regular inspections help catch issues early and prevent costly repairs. Make it a habit to look for signs of wire corrosion, especially around battery terminals, as corrosion can cause poor connections and electrical failures.
During these checks, pay attention to the condition of battery terminals and verify they’re clean and secure. A thorough inspection should include:
- Inspecting battery terminals for corrosion or looseness
- Checking wiring connections for fraying or damage
- Ensuring protective covers are intact
- Testing for heat or signs of wear at key junctions
Proper Wiring Selection
Are you choosing the right wiring to keep your car’s electrical system reliable? Proper wiring selection starts with understanding color coding, which helps identify wires for specific functions like power, ground, or signals. This reduces the chances of making mistakes.
Just as important is selecting the correct wire gauge. Using a wire that’s too thin can cause overheating and electrical failure, while one that’s too thick might be unnecessary and harder to work with. Always match the wire gauge to your system’s current load.
Pay attention to quality. Ensure wires are insulated properly and suited for automotive use. This careful selection minimizes future wiring issues and makes troubleshooting easier.
Proper wiring selection sets a solid foundation for a safe, efficient, and trouble-free electrical system in your car.
Safe Installation Practices
Choosing the right wiring sets the stage for a reliable electrical system, but proper installation practices ensure that wiring stays safe and works well over time. Focus on making secure connections, routing wires properly, and preventing corrosion.
Use quality wire harnesses to keep everything organized and protected. Make sure all connections are tight and insulated to avoid shorts. Run wires away from hot or moving parts to prevent damage.
Regularly check for signs of corrosion, which can mess with performance, and use protective covers or corrosion inhibitors when needed. Keep wiring clean and free of debris, and secure everything with the right fasteners.
These simple practices help reduce failures and extend your wiring system’s lifespan, making sure your car runs safely and efficiently.
Understanding Fuses, Relays, and Wiring Diagrams for Troubleshooting
Understanding the role of fuses, relays, and wiring diagrams is key when troubleshooting car electrical issues. Fuses protect your vehicle’s circuits by breaking the connection when there’s an overload, preventing damage.
Understanding fuses, relays, and wiring diagrams is essential for effective car electrical troubleshooting.
Get familiar with different fuse types, like blade and glass fuses, so you can quickly spot and replace blown ones. Relays act as switches controlling high-current parts like headlights or the fuel pump. Knowing how they work helps determine if a relay failure is causing the problem.
Wiring diagrams are your road map, showing how all the components connect. They help you trace electrical paths and spot potential faults.
By understanding fuse types, relay functions, and how to read wiring diagrams, you can diagnose issues more efficiently. This knowledge helps you pinpoint faulty parts and make targeted repairs.
Frequently Asked Questions
How Often Should I Inspect My Car’s Wiring System?
You should inspect your car’s wiring system at least once a year to catch issues early. Focus on checking wire insulation for cracks or damage, and look for signs of corrosion or corrosion prevention.
Regular inspections help you avoid electrical failures and protect your vehicle’s components. If you notice any worn insulation or corrosion, address it promptly.
This will help keep your car running smoothly and prevent costly repairs later on.
Can Aftermarket Wiring Modifications Cause Future Problems?
Custom wiring and electrical upgrades can cause future problems if not done correctly. Shoddy soldering, poor-quality components, or skipping professional checks might lead to shorts, corrosion, or wiring failures later on.
This can result in unreliable performance and expensive repairs. To avoid these issues, make sure aftermarket wiring modifications are done by experienced technicians who follow proper wiring standards.
It’s also a good idea to regularly inspect your electrical system for early signs of trouble. That way, you can catch problems before they turn into costly repairs.
What Are Signs of a Failing Car Wiring Harness?
You’ll notice signs of a failing wiring harness if you experience electrical issues like flickering lights, inconsistent gauges, or accessories that stop working. Wiring corrosion can cause these problems, and fuse failures often come with them.
You might also see burnt smells or corrosion around connectors. These symptoms indicate the wiring is deteriorating, so it’s a good idea to inspect the harness thoroughly.
Replacing damaged sections early can prevent more serious electrical failures down the line. Stay on top of these signs to keep your car running smoothly.
How Do Temperature Fluctuations Affect Wiring Integrity?
Temperature fluctuations cause thermal expansion and contraction in your wiring, which can put stress on the connections and insulation.
Frequent temperature changes boost the risk of corrosion, especially in humid or salty environments, gradually weakening the wires over time.
Make sure to regularly check for cracks, corrosion, or loose connections. Consider insulating or shielding wiring exposed to extreme temperatures to keep everything intact and prevent failures.
Are There Standard Warranties for Car Wiring Repairs?
Yes, there are standard warranties for car wiring repairs. Usually, these warranties cover the repairs for a certain period, which can range from a few months to a couple of years.
It’s a good idea to ask about warranty coverage upfront to make sure your investment is protected. Make sure to get all the details in writing and understand what the warranty covers for any future issues.
Conclusion
By understanding the basics of your car’s wiring, you gain the tools to navigate its complex network. Think of each wire as a vital nerve, delivering energy and signals through your vehicle’s systems.
With patience and the right techniques, you can identify trouble spots and fix small issues early. Spotting sparks or glitches before they become big problems saves you time and money.
Remember, a well-maintained wiring system keeps your car running smoothly. Turning what seems like a tricky puzzle into a manageable task you can handle on your own. Mastering car wiring troubleshooting empowers you to keep your vehicle in top shape.